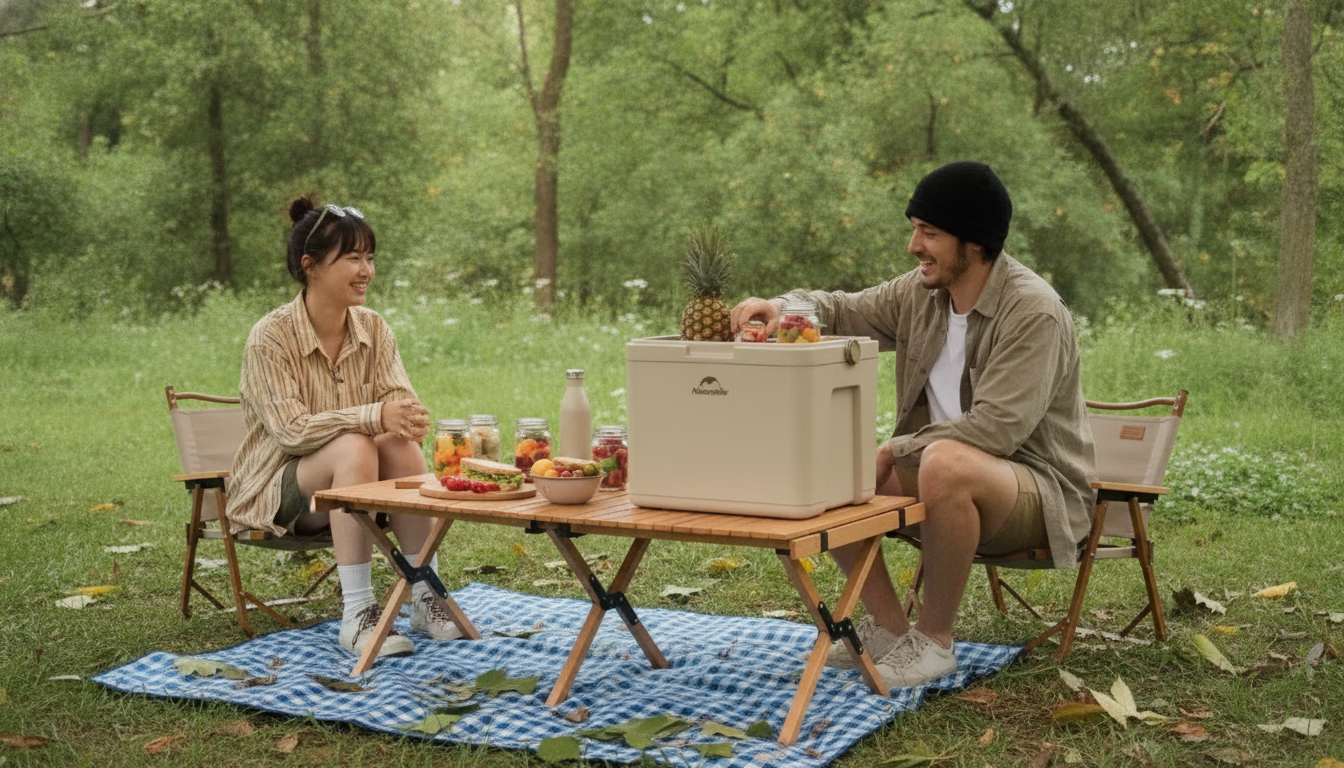
Keeping food and drinks cold outdoors is only half the job—keeping the inside of the cooler cleaner between trips matters just as much. An outdoor antibacterial insulation cooler box is built to slow temperature rise while helping reduce odor and residue buildup from spills, melted ice, and frequent handling. Below is a practical breakdown of what to look for, how to use it for safer outings, and how to keep it performing well over time.
An antibacterial insulation cooler box adds a surface treatment or liner designed to help limit odor-causing microbes between cleanings. That’s especially helpful after sticky drinks, bait containers, condiment leaks, or repeated hands-in-and-out use. It’s still not a substitute for washing—think of it as a “cleaner-between-cleanings” upgrade rather than a set-it-and-forget-it feature.
Cooling performance still comes primarily from insulation quality and the lid’s seal. The antibacterial component supports hygiene and odor control, while insulation thickness and tight closure support ice retention. For repeated outdoor use—beach sand, campground humidity, warm air, and constant lid openings—this combination can make the cooler feel fresher over time.
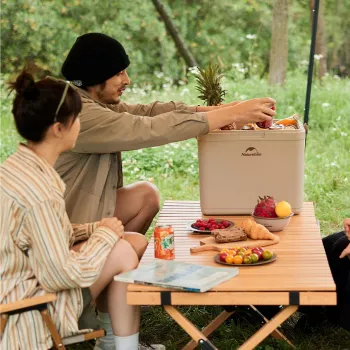
If you’re shopping for a dedicated option, the Outdoor Antibacterial Insulation Cooler Box is designed for portable cold storage with easier wipe-down and day-to-day practicality.
Ice retention comes down to slowing heat transfer and limiting warm air exchange. Foam insulation, a well-fitted lid, and fewer air gaps inside the cooler all help. Before a trip, pre-chilling makes a noticeable difference: starting cold means ice doesn’t spend its first hour just cooling down warm plastic and room-temperature drinks.
Ice strategy matters too. Block ice (or frozen water bottles) melts slower than loose cubes, while smaller cubes help fill gaps around items. For many outings, a mix gives more stable temperatures. Also, opening frequency is the hidden “ice killer.” When you repeatedly lift the lid, warm air rushes in and cold air spills out. Packing by priority—quick-grab items on top, longer-term items below—can extend cold time without adding extra ice.
| Factor | Why it matters | Simple upgrade |
|---|---|---|
| Pre-chill | Starts the interior at a lower baseline temperature | Store the cooler in a cool room; add a sacrificial ice pack 30–60 minutes before packing |
| Lid seal & fit | Reduces warm air entering and cold air escaping | Check for debris on the gasket/edge; close fully after each use |
| Ice/pack strategy | Thermal mass keeps temps stable | Use a mix of block ice + smaller cubes or frozen water bottles |
| Shade & placement | Direct sun accelerates heat gain | Keep under a table or natural shade; avoid hot car trunks |
Cold storage is about comfort and safety. For longer outings, a small cooler thermometer helps confirm you’re staying in a safe range for perishables. Keep raw meats tightly sealed and physically separated from ready-to-eat foods to reduce cross-contamination risk. A simple approach is “raw at the bottom, ready-to-eat at the top,” with raw items inside leakproof containers or zip bags.
Plan for meltwater, too. As ice melts, food packaging can get soggy and labels can peel, and water can spread drips from raw items if they aren’t sealed. Use watertight containers for food, and consider keeping ice in bags or using ice packs to reduce slosh. For trip-friendly food safety guidance, refer to the FDA’s picnic and camping food safety tips and the CDC’s food safety resources.
Pick capacity based on people count, trip length, and how often you’ll open the lid. For a day trip with 1–2 people, a compact cooler is easier to carry and still fits lunch, a few drinks, and several ice packs. For a family picnic or beach day, you’ll want room for layered packing: ice on the bottom, food in the middle, and quick-grab drinks on top.
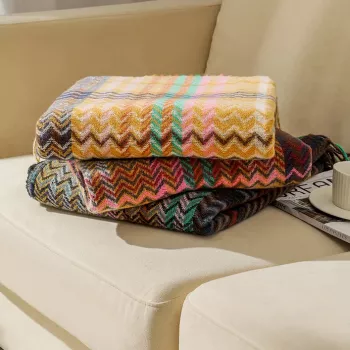
For shade and an extra layer between your cooler and hot surfaces, a packable textile can help. A Sofa Knit Throw Blanket with Tassels can double as a picnic layer or light cover to reduce direct sun exposure when there’s no natural shade available.
Avoid harsh abrasives that scratch the interior; scratches create tiny grooves that hold residue and make future cleaning harder. After washing, dry thoroughly with the lid open. Trapped moisture is a common cause of stale smells, especially if the cooler is stored closed in a warm garage. For additional food handling basics that complement good cooler hygiene, the USDA FSIS guidance on leftovers and food safety is a useful reference.
No. An antibacterial liner can help reduce odor-causing microbes on the surface between cleanings, but you still need regular washing and thorough drying—especially after spills, sticky drinks, or storing raw food.
Pre-chill the cooler and contents, use block ice plus ice packs, keep the cooler in shade, minimize lid openings, and pack tightly to reduce air gaps. Organizing items so you grab what you need quickly also prevents unnecessary warming.
It can be safe if raw meat is sealed in leakproof packaging and kept separate from ready-to-eat items, ideally placed at the bottom to prevent drips. For longer trips, a cooler thermometer helps confirm temperatures stay safely cold.




Leave a comment