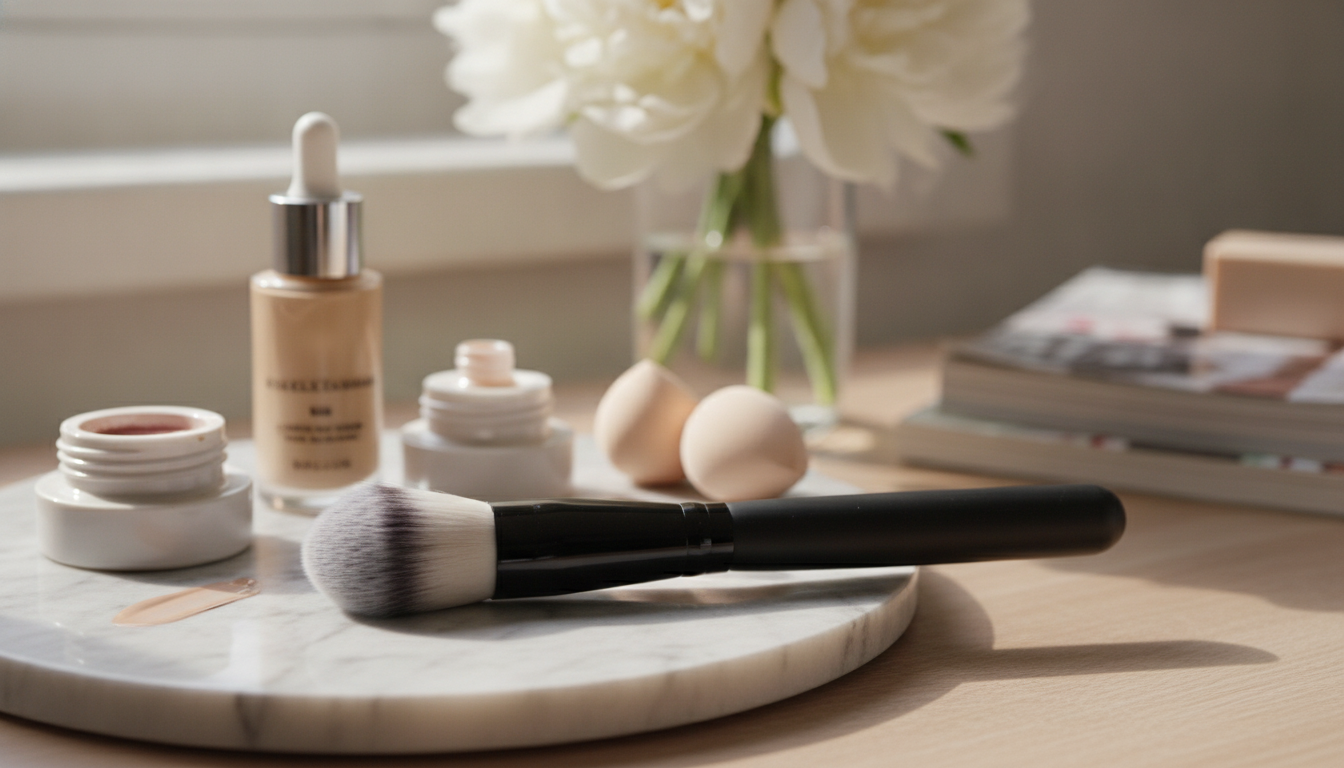
An ultra-thin foundation brush is made to lay down base makeup in whisper-light layers. Instead of depositing a thick stripe of product that needs lots of buffing, the slimmer, more flexible head helps glide and press foundation into the skin so it looks more like skin—less like makeup. With the right technique and consistent cleaning, this style of brush can speed up blending, reduce wasted product, and make quick touch-ups easier (especially around the nose, under-eyes, and hairline). For more guidance, see How to Cover Acne with Makeup: Our 10 Best Foundation ….
Compared with thicker, wider foundation brushes, an ultra-thin design focuses on control. You get a smaller surface area, a more flexible “edge,” and a layer-by-layer application style that’s easier to keep even. For further reading, see How to clean your makeup brushes.
Ultra-thin foundation brushes are versatile, but they shine for routines that prioritize a natural finish and quick, targeted blending.
The most natural-looking base usually comes from two habits: letting skincare settle and using less product than you think you need. A thin brush makes both easier, because it’s designed to “paint” a veil instead of flooding the skin.
| Goal | How to apply | Best tip |
|---|---|---|
| Sheer everyday base | 1 thin layer, short strokes | Start at the center of the face and blend outward |
| More coverage on redness | Tap/press, then lightly sweep | Build in thin layers to avoid cakiness |
| Smooth around nose | Small strokes following the curve | Wipe excess product off the brush before detailing |
| Longer wear | Thin layers + set lightly | Use a small amount of powder only in oily areas |
Each method has a “best use,” and mixing tools is fair game. If your goal is thin, even coverage with minimal product waste, an ultra-thin brush is a strong daily driver.
A brush that applies foundation beautifully can start to look streaky when product, oils, and pigments build up. Regular cleaning also supports better skin hygiene. For step-by-step guidance, the American Academy of Dermatology Association shares practical tips on keeping tools clean: How to clean makeup brushes and sponges. For general cosmetic safety information, see the FDA’s Cosmetics: Safety Q&A.
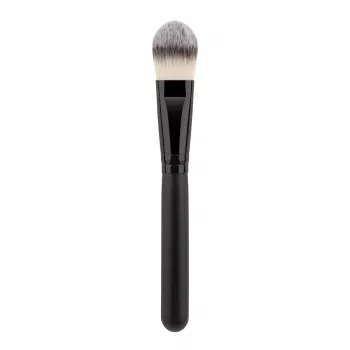
If you want lightweight coverage with a polished finish, the Ultra-Thin Foundation Brush is designed to help apply foundation in thin, controlled layers. The slimmer shape is especially handy for blending around curves of the face (like the sides of the nose) and for keeping coverage targeted where you actually need it.
| Item | Price | Availability |
|---|---|---|
| Ultra-Thin Foundation Brush | $2.17 | In stock |
Use less product and apply in thin layers with light pressure. Blend using short, overlapping strokes, then soften the perimeter with a few gentle sweeps (or press lightly with a damp sponge if you like).
Yes. Apply multiple thin layers instead of one thick layer, concentrating coverage where you need it most and keeping the outer edges lighter for a more natural finish.
Wipe it after each use to remove leftover pigment and oils, and deep clean about once a week if you use it frequently. Let it dry fully to help prevent buildup and odor.




Leave a comment