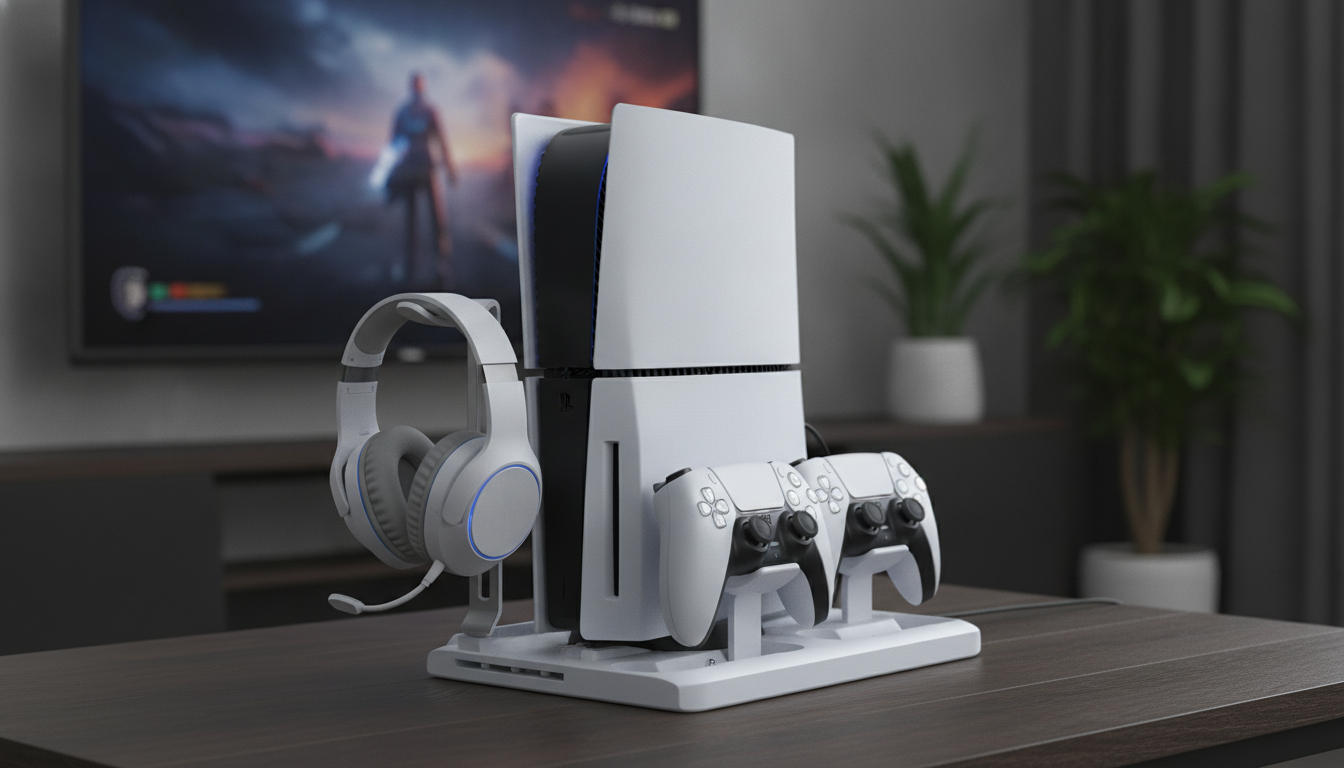
A tidy setup helps a PS5 Slim run comfortably and keeps play sessions friction-free. A combined stand, cooling base, controller charging dock, and headset hook can reduce desktop clutter, keep accessories within reach, and simplify daily start-up and shutdown routines. Instead of juggling loose cables and searching for charging leads, everything gets a repeatable “parking spot” that makes your gaming area easier to live with.
A multi-function stand is mostly about consistency: the console stays put, accessories stop wandering, and the whole station becomes quicker to use day after day. Here’s what a purpose-built PS5 Slim base can contribute to your layout:
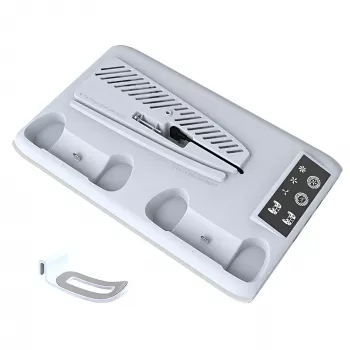
If you’re shopping for a compact all-in-one dock, the PS5 Slim Cooling Stand with Controller Charger and Headset Hook is designed specifically to keep the console and daily gear organized in one place.
Cooling accessories work best when the basics are already right. A stand can help manage warm air around the console area, but it can’t overcome a tightly enclosed cabinet or blocked vents. Use these placement habits to keep airflow predictable during longer sessions:
For general console setup and safety guidance, it’s also worth checking official resources like PlayStation Support.
A charging dock is less about “charging faster” and more about removing the little annoyances that interrupt play. When the controllers have a dedicated charging location, you stop guessing where the cable went and you can build a simple routine: play, dock, walk away. That routine matters most in busy households or when you often jump into multiplayer without notice.
| Setup step | What to verify | Why it matters |
|---|---|---|
| Position the stand | Stable surface, level, not on soft fabric | Prevents wobble and keeps airflow paths clear |
| Place the console | Firm fit on the base; no blocked vents | Reduces vibration and helps heat dissipate |
| Connect power/USB | Secure connection and adequate power source | Avoids charging dropouts and unexpected shutdowns |
| Dock controllers | Proper seating; charging indicator appears | Ensures controllers are actually charging |
| Hang headset | Cable slack managed; no strain on connector | Prevents wear on headset plugs and keeps desk tidy |
Headsets tend to get damaged in ordinary ways: a chair wheel rolls over the cable, earcups get crushed under a controller, or the headset slides off a console top and hits the floor. A hook reduces those risks by giving the headset a consistent landing spot.
If you prefer a wired option that’s easy to store neatly, consider pairing your setup with 3.5mm/Type-C Wired Gaming Earbuds with Mic & Detachable Cable for a compact grab-and-go alternative.
If you’re comparing power adapters or charging standards, the USB-IF overview of USB Power Delivery is a helpful reference for understanding how modern USB charging is specified.
No. A cooling stand can help airflow around the console area, but it doesn’t replace keeping vents clear, providing open space around the console, and avoiding enclosed cabinets without ventilation.
Many modern charging systems are designed to manage charging safely, but it’s still best to follow the stand and controller manufacturer guidance. Keeping charging contacts clean and unplugging during long periods away is a reasonable precaution if you prefer.
Reseat the controller, confirm the USB/power connection, and try a different cable or power source. Inspect the charging pins/contacts for dust and test the controller with a direct cable to rule out a controller-side issue.
Leave a comment