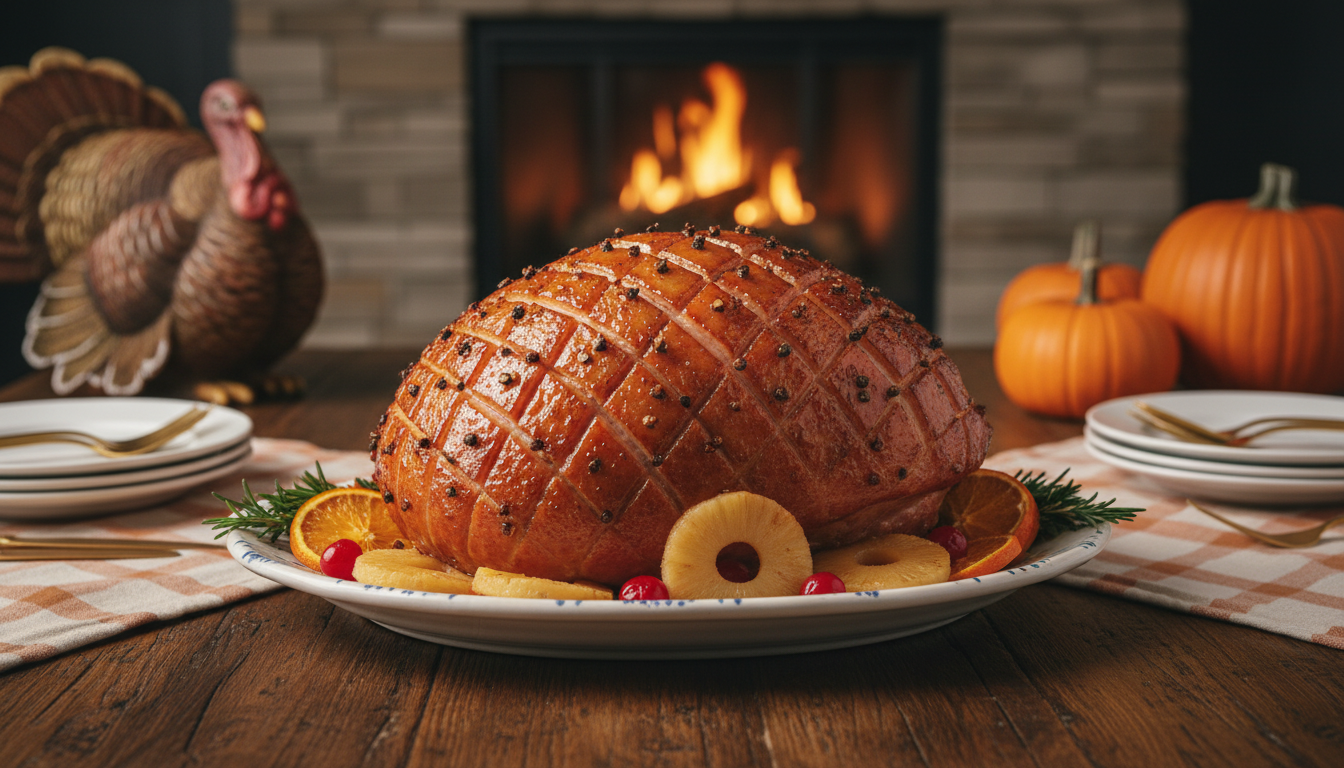
A Thanksgiving ham can feel intimidating when timing, prep, and side dishes all collide. The easiest way to calm the chaos is to make a few early decisions (ham type, serving time, glaze flavor), then follow a simple reheat-and-glaze method that doesn’t require constant attention. Below you’ll find a clear plan—from shopping day to carving time—plus a printable checklist option that keeps every task in one place.
Most holiday stress comes from guessing: how long the ham takes, when the glaze goes on, and how to fit in casseroles and rolls without everything fighting for oven space. Simplify the whole process by deciding three things early: (1) your ham type (fully cooked vs. raw), (2) your serving time, and (3) your glaze flavor.
Then write a basic timeline that includes rest time. Resting isn’t “extra”; it’s the built-in window where you can finish sides, warm rolls, and set the table while the ham stays hot and juicy. For a busy Thanksgiving, aim for one reliable technique: warm the ham low and slow, then glaze near the end.
Your label matters more than your pan. Look specifically for “fully cooked” versus “cook before eating” so you’re not surprised on Thanksgiving morning.
| Ham type | Best for | Beginner difficulty | Notes |
|---|---|---|---|
| Fully cooked spiral, bone-in | Classic holiday table + easy slicing | Easy | Reheat gently to avoid drying; glaze late |
| Fully cooked, boneless | Fast carving + easy storage | Easy | Great for sandwiches and leftovers |
| Uncooked (fresh) ham | From-scratch cooking | Advanced | Needs full cooking; allow more time and careful temperature checks |
For portions, plan about 1/2 lb per person for boneless ham or 3/4 lb per person for bone-in. If you want generous leftovers for sandwiches and soup, round up.
This method is designed for a fully cooked ham that needs reheating (the most beginner-friendly option).
For food safety details and label guidance, see USDA FSIS — Ham and Food Safety and the USDA safe minimum internal temperatures chart.
Stir brown sugar, Dijon mustard, and a small splash of apple cider vinegar (or water). This one is sweet-tangy and forgiving, even if you apply it lightly.
Melt butter, whisk in maple syrup, and add a few cracks of black pepper. It’s warm, balanced, and especially good on spiral hams.
If you want a ready-to-print version designed for beginners, see Thanksgiving Ham Made Easy – Printable Holiday Cooking Checklist for Beginners (Digital Download).
Follow the package directions as your primary guide, since weight and shape vary. In general, fully cooked hams are reheated low and slow, and the most reliable “timer” is an instant-read thermometer confirming it reaches the recommended reheating temperature.
Apply glaze during the final 20–30 minutes of baking, then brush on 1–2 additional thin layers for shine. If it browns too fast, loosely tent with foil while the inside finishes warming.
For fully cooked ham, reheat to 140°F internal temperature; for raw/fresh ham, cook to 145°F with a 3-minute rest, per USDA guidance. When in doubt, confirm with an instant-read thermometer in the thickest part without touching bone.





Leave a comment